

Perhaps there is no better way to impress your friend as a home barista than a masterfully brewed cappuccino with gorgeous latte art.
However, many home baristas make the mistake of getting too excited over the latte art itself and underestimate the importance of good frothed milk.
It might sound boring, but the art of steaming milk is the key to Instagram-worthy latte art. You need to have a good consistency for your frothed milk as well as a perfect balance between microfoam to milk ratio.
Without further ado, lets look at how we can steam the perfect froth milk for latte art.
1. Choice of Milk

The protein within the milk plays an important part during the frothing process, stabilizing the entrapped microfoam within the frothed milk.
When milk with high fat content is used, the protein of the milk will more likely to attach to fat than air due to its hydrophobic nature. Hence, the higher fat content, the less air the milk can hold, leading to less frothy milk.
We dont also recommend using organic milk or UHT milk as well since the proteins have already been destroyed in the ultra pasteurized process. Personally, we prefer 2% milk as it provides a slightly more creamy taste to the brew. (By the way, 2% milk refers to reduced-fat milk where fat content is 2 percent of the total weight of the milk.)
We also recommend using fresh milk within 5 days of purchase to achieve the best foam.
2. Frothing
Fill your pitcher slightly less than half full with cold milk right from the fridge. Remember not to pour too much milk as milk expands when steam and you need room to move your milk within the pitcher.
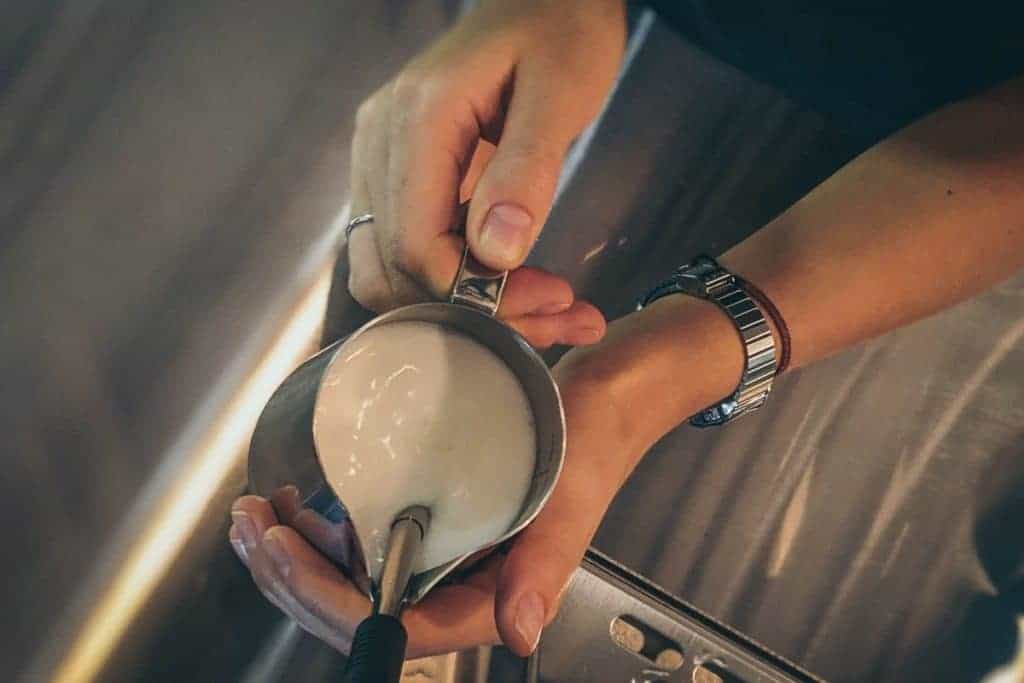
Before frothing, purge the steam wand to get rid of any water that has condensed in the tip. Hold the pitcher by the handle about 15-degree angle from the side of the espresso machine, and the steam wand slightly off center in the pitcher. Insert the steam wand barely below the surface of the milk to create that beautiful micro foam.
Find this Article Useful?
Like our Page to receive notifications on interesting articles such as this.
The sound produced during frothing can help you to determine if you are doing correctly. The milk should be steamed silently with a soft and deep hissing sound.
If you have been hearing a loud roaring sound, chances are you have been dipping the steam wand a little too deep which may result in flat and hot milk.
As you steam the milk, the volume of the milk increases due to the microfoam. We recommend steaming the milk for around 15 to 20 sec till the temperature reach around 70°C. By then, you see a thick frothy milk with consistency texture. For a more precise measurement, you may use a thermometer to prevent over-steaming.
Purge the steam wand right after you finish steaming. Give it a few wipes with a clean towel. If you do not purge the steam wand out after use, the milk will dry in the wand and block it up.
3. Knock and Swirl
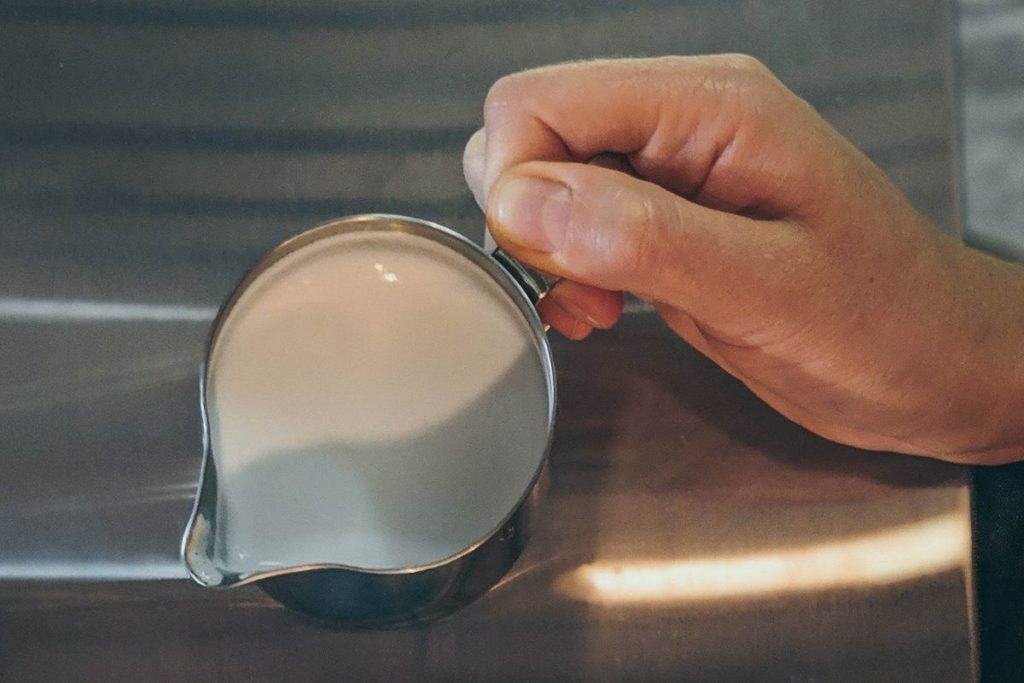
Gently knock the pitcher against the kitchen counter and swirl the milk to achieve a more consistent texture. It should be thick, silky and glossy, something similar to the texture of the paint.
4. Preheat your Cup
Remember to preheat your cup before pouring your frothed milk. That’s it, this set a great foundation for your latte art. We will be sharing how to do latte art in the coming weeks so be sure to like our facebook page to receive the latest notifications.
Do you have any other interesting tips to steam your frothed milk? Share with us in the comment section below!